How to run a stepper motor with DRV8825

Right away i will skip the internals of the DRV8825 chip, and just show the simplest way to set up and run the stepper motor with the driver. However, if someone finds internals of the DRV8825 interesting i found this website that describes it nicely:
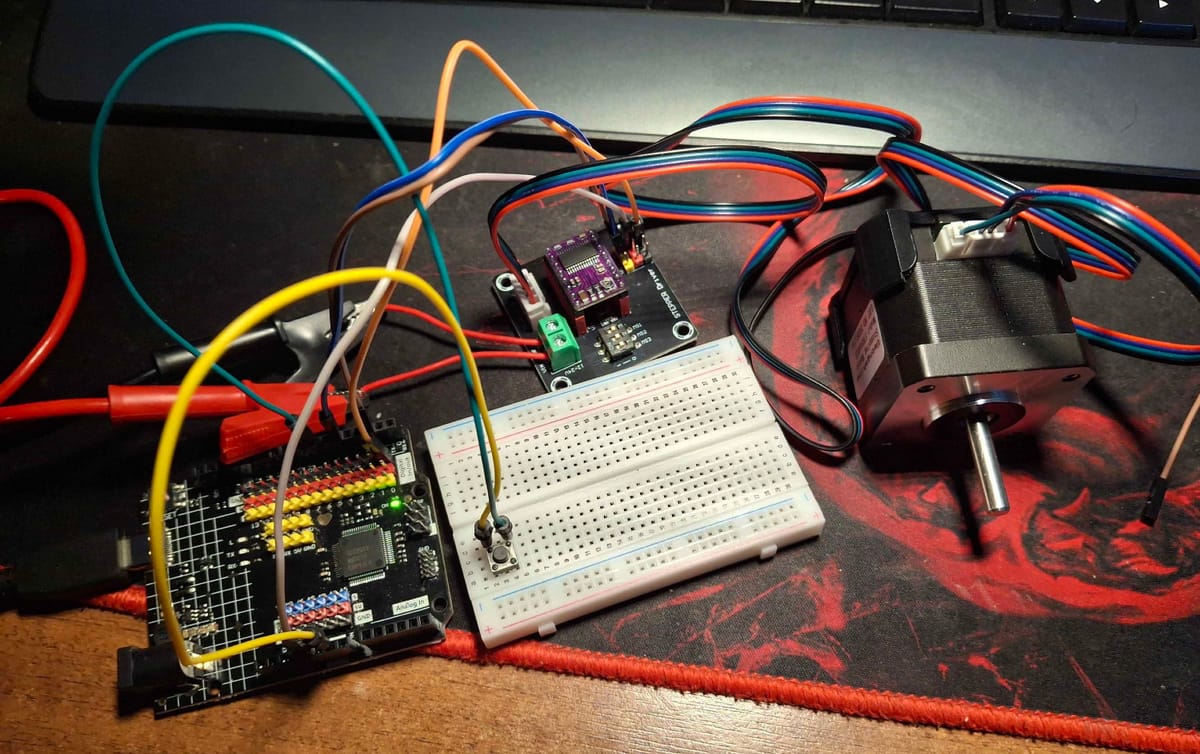
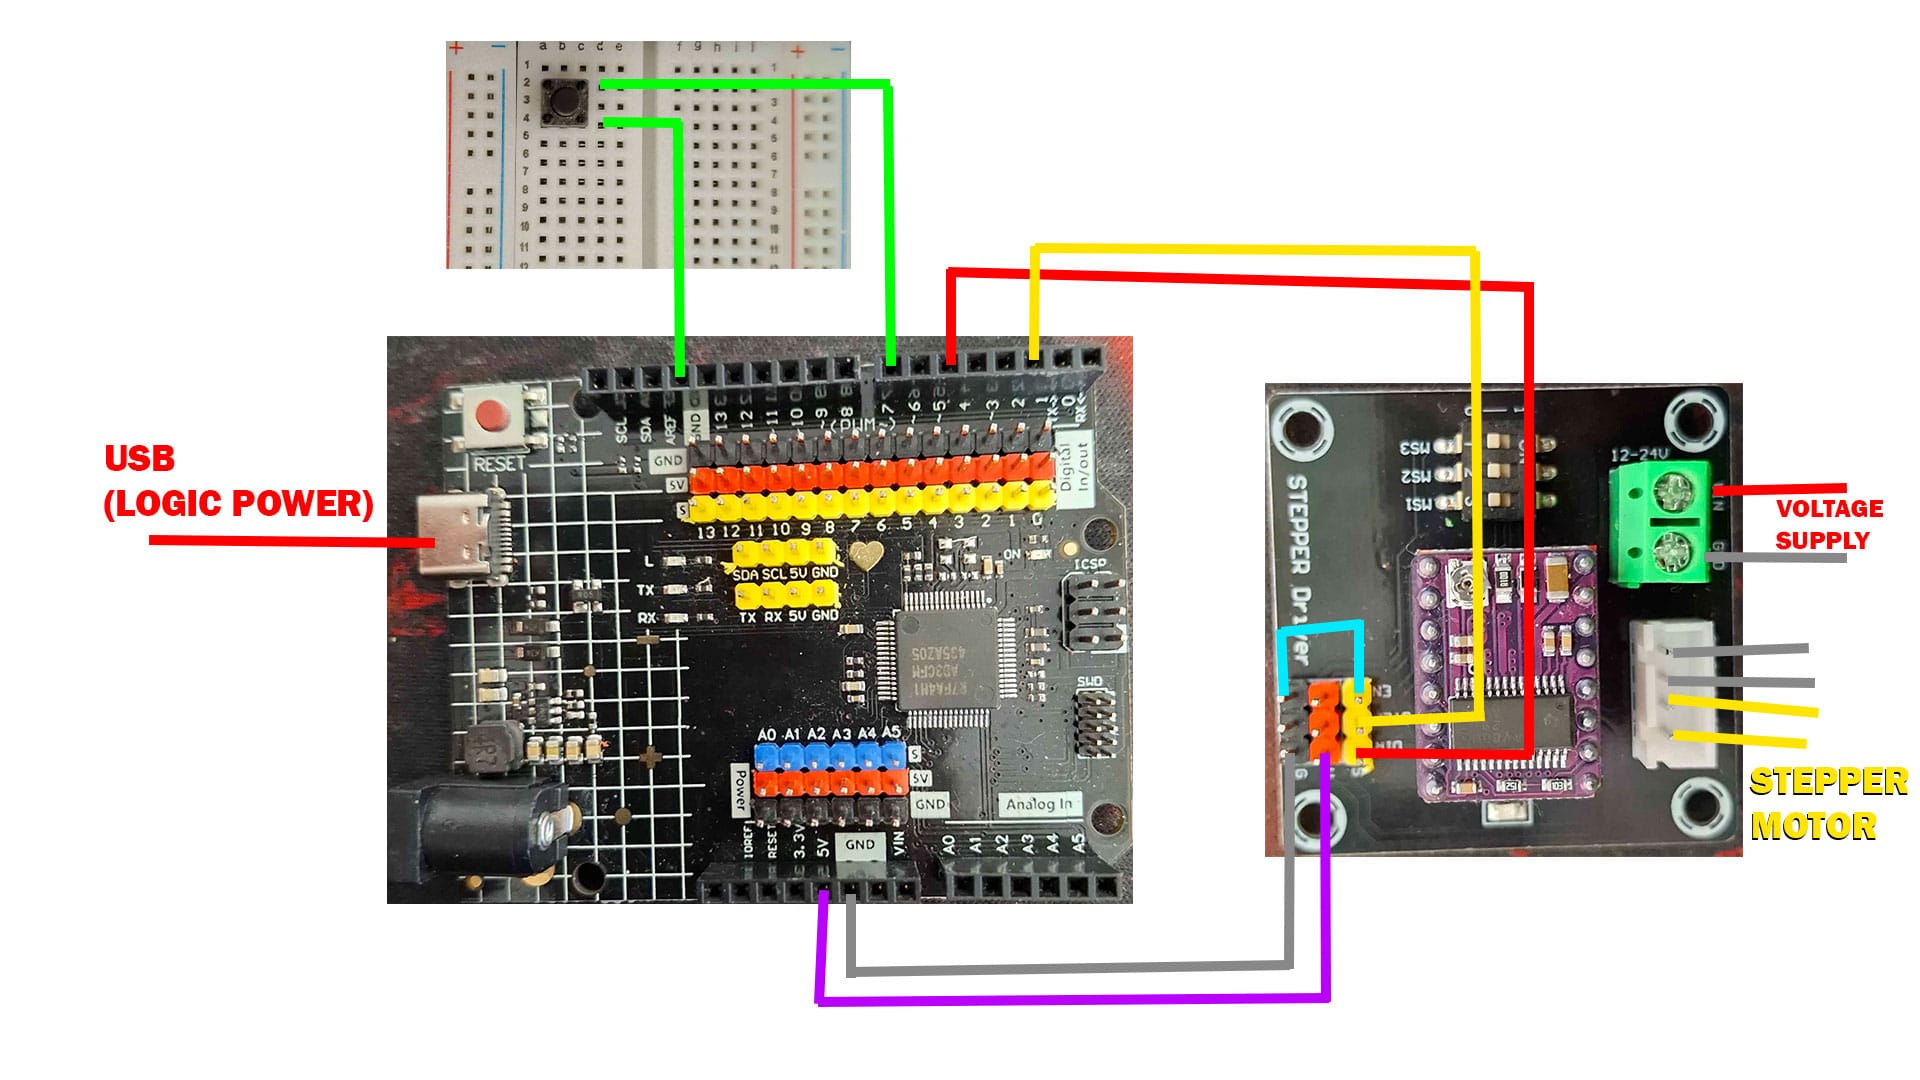
For the setup i will use:
-Arduinu UNO R4 minima,
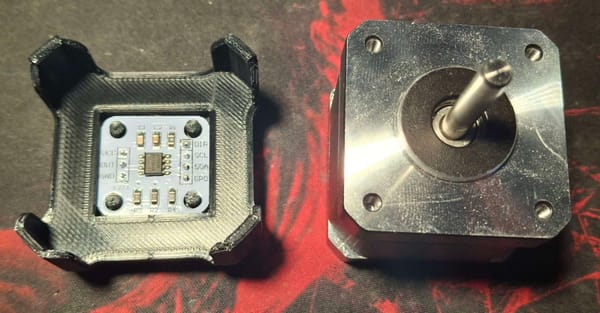
-Nema 17 stepper motor (1.5 A max current)
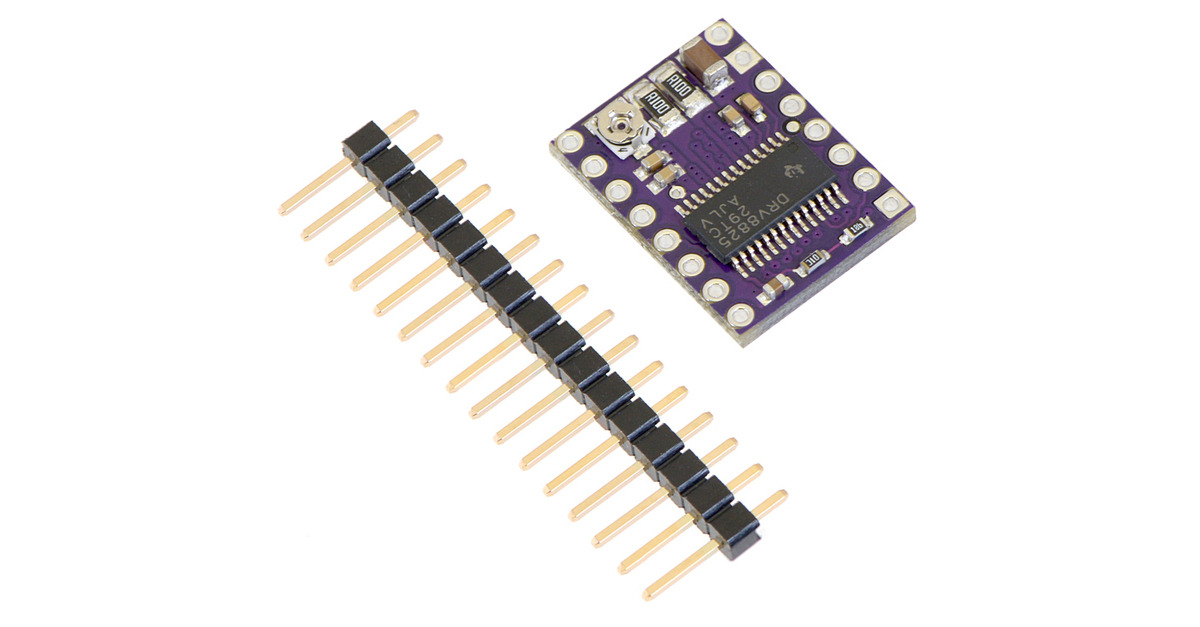
-DRV8825 and breakout board,
-Lab voltage supply,
-and a simple two pin button.
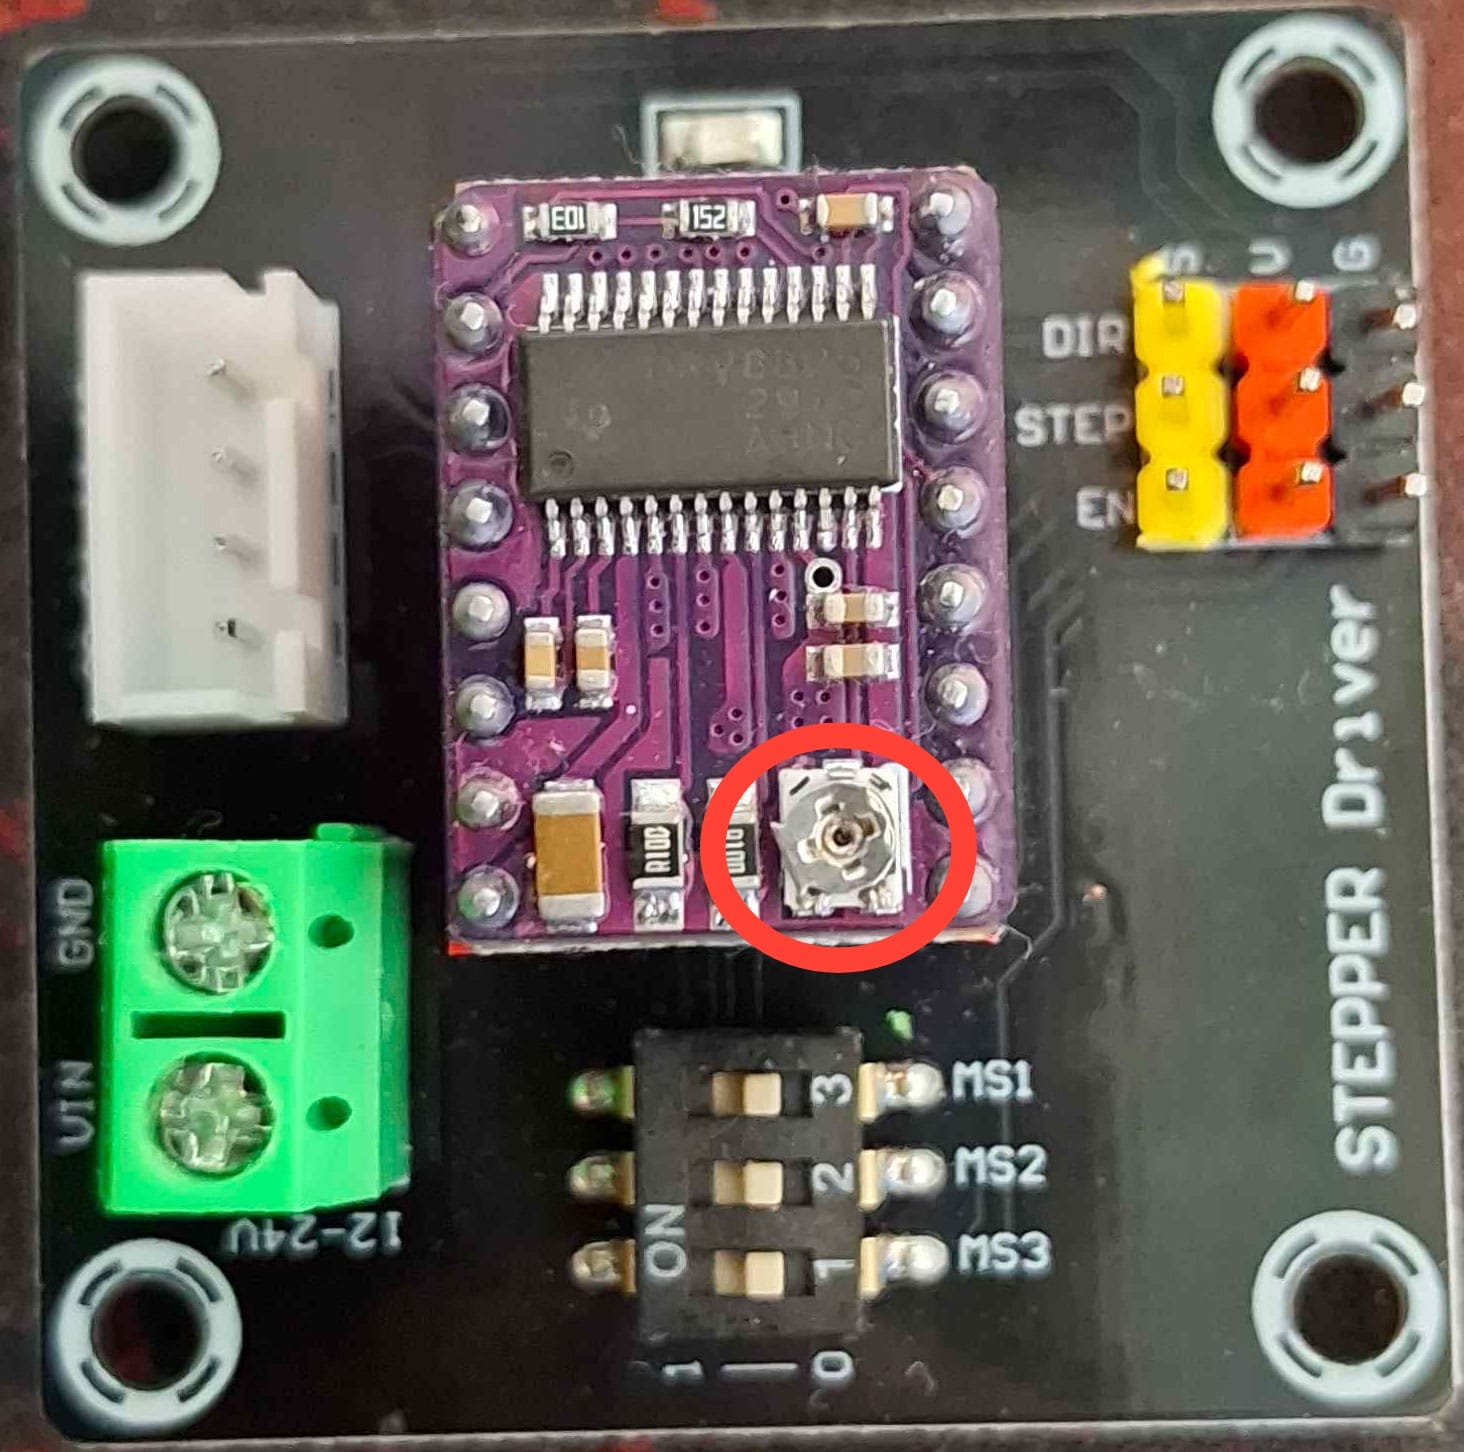
Before hooking up everything it's required to set up a reference voltage on the driver.
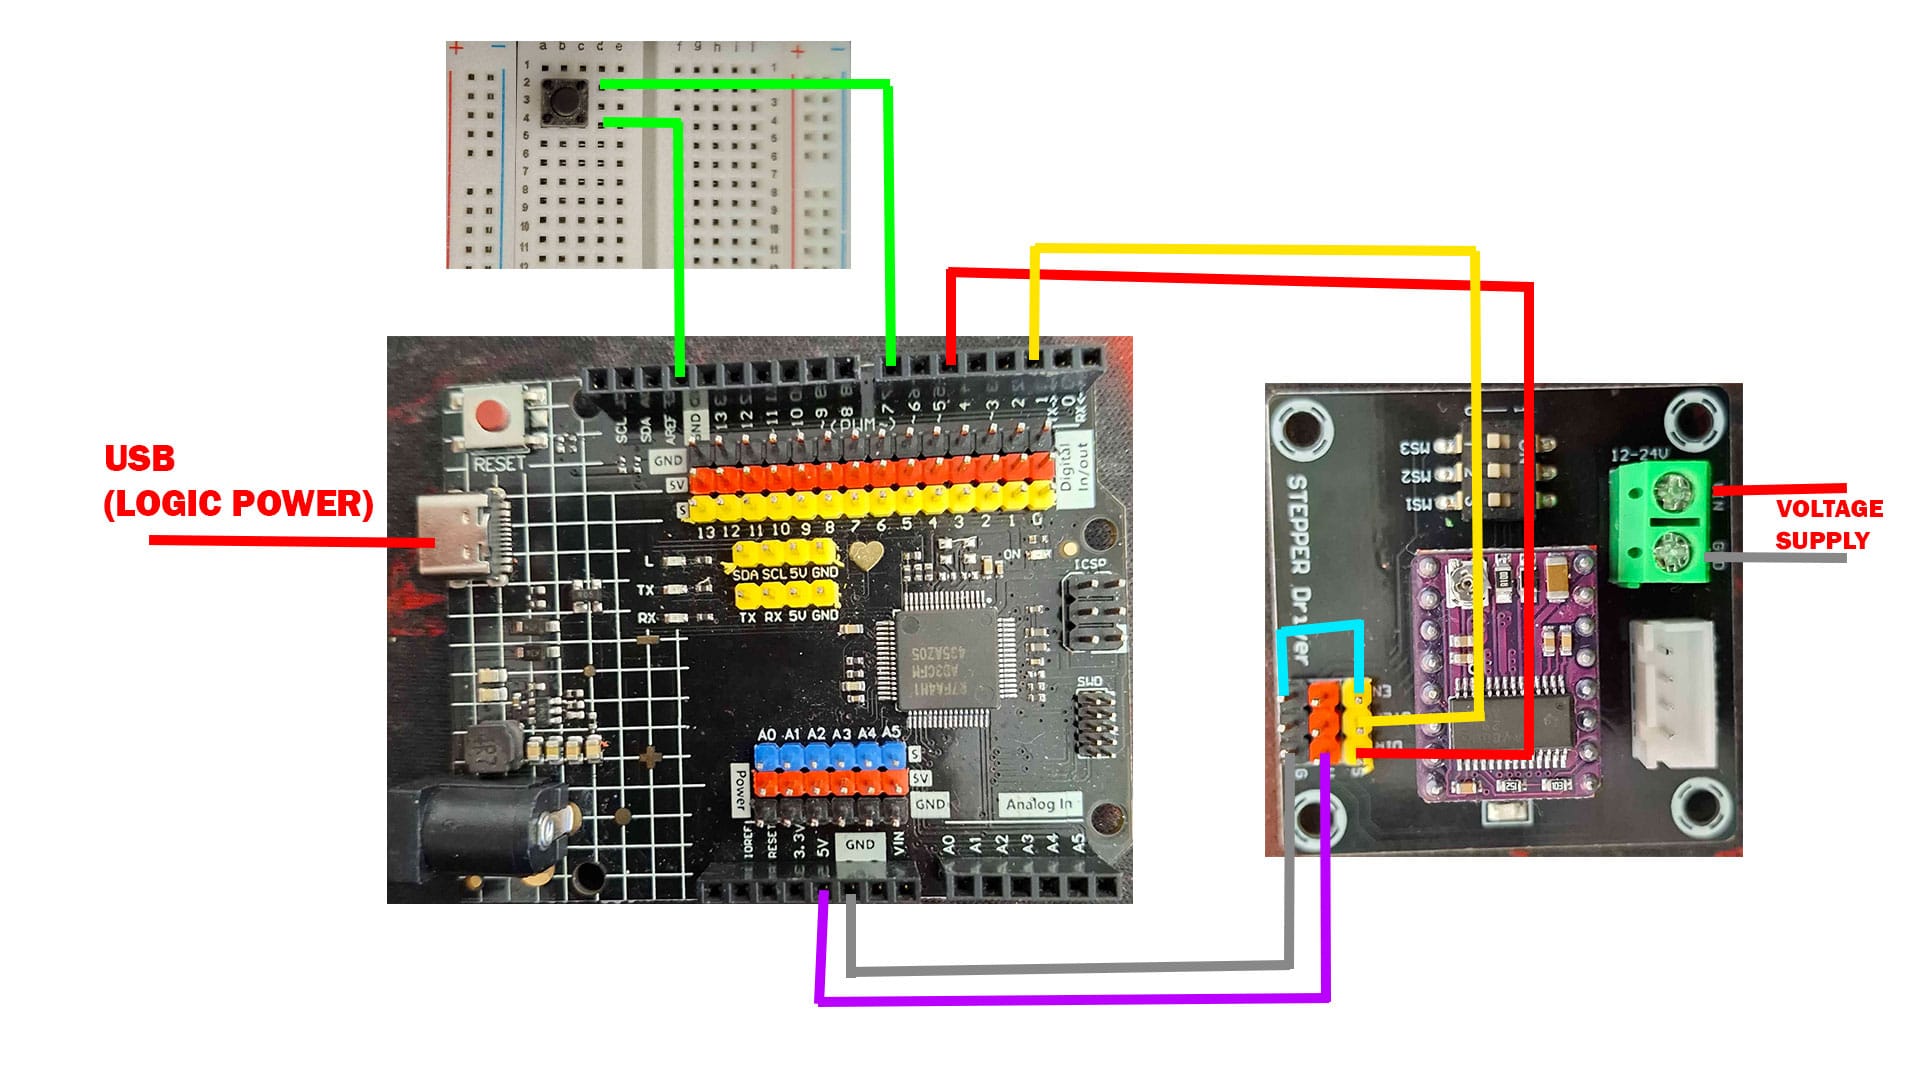
Hook up everything except motor (image above). Now the current limit of the driver needs to be adjusted with potentiometer.
In order to calculate that, the next equation is used:
Vref = Imax * 0.5 (in my case it's 1.5 * 0.5 = 0.75V)
Imax is max current of the motor, and it can be found in the datasheet.
Now with multimeter we set it to voltage measuring and measure voltage across that small potentiometer that looks like a screw. By turning the potentiometer the voltage changes, and in my case when it's 0.75 V, it's all set.
Now the motor can be plugged in:
Last thing is to write a code. In code i used AccelStepper.h library by Mike McCauley. It has a couple of example codes that can be tried right away, below is slightly modified version of example code that uses button. When button is pressed the motor turns in one direction with constant speed.
#include <AccelStepper.h>

// Stepper driver pins
#define STEP_PIN 2
#define DIR_PIN 5

// Stepper object
AccelStepper stepper(AccelStepper::DRIVER, STEP_PIN, DIR_PIN);

const int buttonPin = 7;

void setup()
{
  pinMode(buttonPin, INPUT_PULLUP);

  stepper.setMaxSpeed(1000);
  stepper.setSpeed(200);   // constant speed
}

void loop()
{
  if (digitalRead(buttonPin) == LOW)  // button pressed
  {
    stepper.runSpeed();   // run at constant speed
  }
}
That's all there is.
Of course there is much more to be explained internally, but me pretending to know that would be lying :P